Thursday, March 26, 2015

Monocular Depth Cues

A monocular depth cue in short is when something can appear closer to you or farther from you but in actuality is just the same distance away. Because our computer screens are not 3D and are in fact 2D, the images only appear to be closer or farther away to us. Below are several examples of objects demonstrating molecular depth cues. 

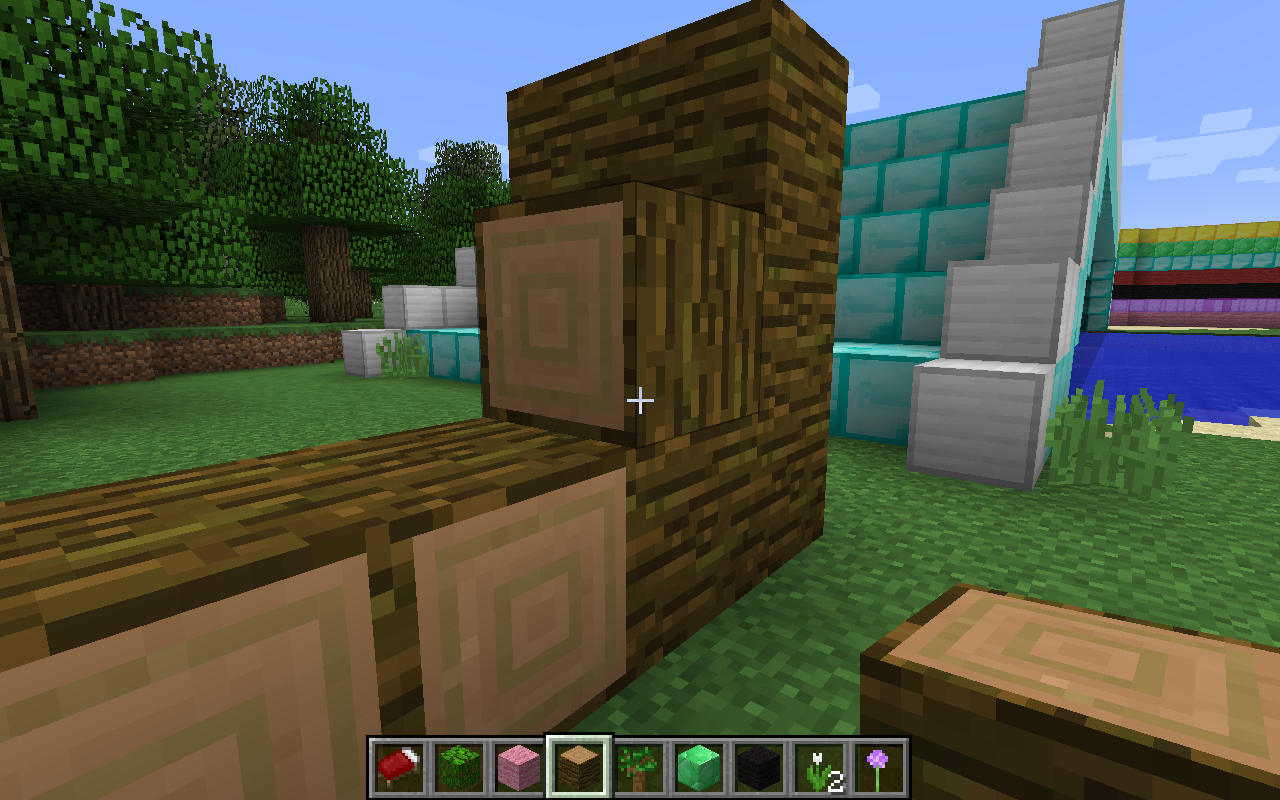
This is an example using a tree. The tree appears to be "in front" of the bridge. Because this is 2D it is obviously not actually in front of it. The fact that it appears to be isa  monocular depth cue. 


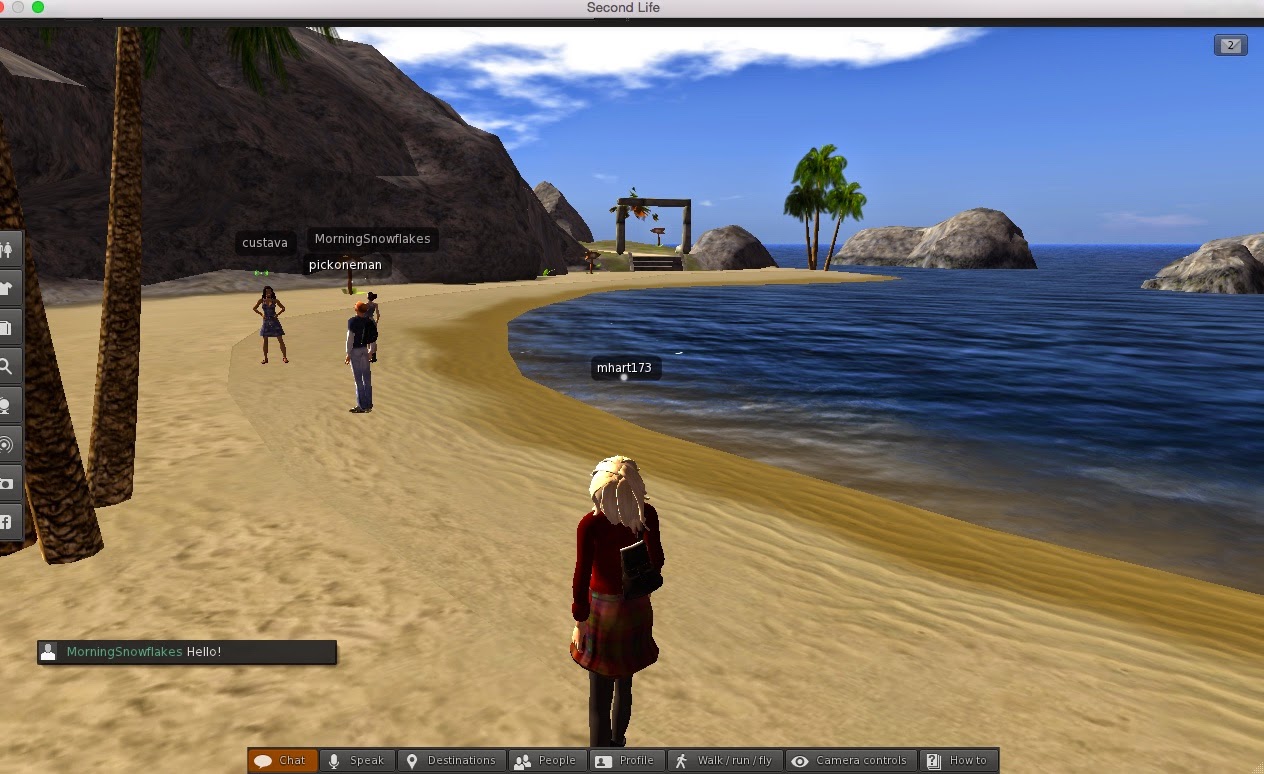
This is a photo of me standing behind a rose bush. The rose bush is covering the ocean. Despite the fact that the ocean is not actually behind the bush it looks like it is.


This is a screenshot of the bunny I saw. I actually think the bunny was pretty cute. The bunny in front of the brown dirt is an example of monocular depth. It appears to be in front of the dirt. 


The clouds appear to be in front of the ground. The ground is not really behind the clouds. This is an example of a monocular depth cue. 


This is a mountain. It looks much larger than the trees and landscape behind it. The trees in the background look tiny. They are actually just tinier and not farther away. 

Finally this is the edge of the island. The trees in front of the mountains appear to be closer. The mountains look much farther away especially on the left side. Monocular depth cues are all over. Essentially everything you look at is a monocular depth cue in this game. 


FINAL PROJECT STEP 2: MY COMPLETED IMMERSIVE LIBRARY/MUSEUM (step 2)

This is the final view of my built world. 


I made a tree. The tree was the least time consuming of all. It was weirdly hard to shape however. This  picture is at the early stages of me making the tree. The difficulty is using blocks to create a tree is difficult and not dead on to what I wanted it to look like. 


I planted a garden with poppies and other flowers. I snapped this picture just as the sun was going down and I actually think it's pretty! The garden was a bit time consuming but it came out pretty at the end. The most difficult part was landscaping. I needed to remove all of the sand and replace it with grass so that the flowers could be planted. 


Finally, one of my favorite parts of my creations is the ivy siding of the building. There are also rose bushes and I think that this makes the place look really homy and unique! I also like that the garden is right by the front of the building. I also added columns to make it feel a bit more sophisticated. 


Block Inventory (approx):
3,600 Blocks used on the museum 
200 Blocks used to create more land 
460 Blocks used on Bridge #1 
490 Blocks used on Bridge #2
35 Blocks used on Tree
290 Blocks used for my house across the bridge
TOTAL: 5075 Blocks used 


FINAL PROJECT STEP 2: MY COMPLETED IMMERSIVE LIBRARY/MUSEUM (Part 1)

Here is my Minecraft Museum. It took me a while to complete this but finally I am finished. First needed to clear an area large enough for my building to go. I then also had to add many blocks to the water in order to make it rise to the surface and create more land mass. The surfaces were extremely uneven and therefore I had to get rid of a lot of it. I dug up the ground and added a stone layer as the base of my building. I shaped it in a cool zig zag way. I then added layer after layer of different colors and materials. It is at times difficult to continuously count your blocks but I did my best. 


After I was content with the style of my building I then added my first bridge. The bridge leads to the other side of the island. It is made out of glass. I added a cover on top of it for a bit of extra style!


This is what my building looked like as I continuously added layers to the stone foundation. This became difficult as the night time kept kicking in and disrupting my counting. I had to write down approximately where in counting I last was. 


I then built a second bridge! This bridge leads to the other side of the island. I used diamond (styling) as the foundation and iron as the rail. The building has a door that leads directly to the bridge.


On the other side of the bridge I began to make a little house. I added two different rooms on the inside. It's pretty dark so while inside you need to have torches lit. I think it's pretty cosy looking and if there was a tv in there I would definitely hang out! I think the structure is cool with tiny alcoves and nooks. 


FINAL PROJECT STEP 1: IMMERSIVE LIBRARIES AND MUSEUMS

This is an overview of the article I read on Immersive Education- Libraries and Museums Technology Working Group (LAM.TWG). This article was interesting and spoke about the importance of keeping up to date in the technological world. Keeping up to date is important for the way students learn and access knowledge. The idea is the virtual meeting can be helpful and take the stress of traveling to the building out of the situation.


The goal is to design libraries and museums that can be accessed virtually. This would be a whole new style of education. One where you don't have to bury yourself in the library but can gain knowledge in your own home or where you wish to learn. I love the idea of leaving out the hassle and learning where I want to.


The diagram shows that students from all over (not necessarily the same class) can virtually access the same information they might need for further learning. There are the educators, students and fake participants as well as those that provide the information.


Many people who need quiet to learn can benefit from this. Despite the fact that libraries are supposed to be quiet, often the flipping of pages, whispers and keyboard typing can be distracting. The idea that one could virtually access the same information is new and useful to students who are non conventional learners (like myself).

Museums that can be viewed virtually would also be an awesome idea. We spoke about this at one point this year but many schools do not have the funding necessary to take field trips. Field trips are important because it gives the student a real world view of what they have been learning. I think that virtually accessing this would be beneficial to those that do not have the opportunity to actually go on a field trip. Overall I think that these ideas are pretty good ones and can benefit many people!


Saturday, March 21, 2015

Class 9, Exploring Second Life

First I signed up for Second Life. Occasionally people would message me saying hello or ask me to join their group. I also received a lot of notifications on the side regarding things outside of the game. 
I chose an avatar. Instantly the game brought me to a beach scene. There were other people there. I looked around and saw a boat in the ocean that was sunken. I didn't know that I couldn't swim in this game so I had to fly over to the boat. Finally I hangout on the boat for a while after I landed there.  


Next I went to a club. The club was playing music and had a DJ. The DJ was thanking us for listening and telling us to listen again tomorrow. There weren't many people in this world. I thought it seemed pretty cool and the only thing that would have made it cooler would be if more people were in the world to meet and dance with! 


This is a romantic world. I don't think it was loading properly despite that there were not many people in it. One side of it did load and that side was actually very pretty. My avatar was looking out over the water and there was a house out there. It was pretty cool in the parts that loaded properly.


This world also did not seem to be loading all the way. The ocean was the most detailed thing I could see. There were a few people there however. My chat icon popped up from someone in this world trying to talk to me. 


This wold was by far my favorite. It had a waterslide which you could actually slide down. I watched someone do it and finally figured out how. I right clicked a floating button and pressed "slide!" and then my avatar slide down the slide and landed in more water. This was pretty fun and I did it a couple more times. It made me want summer!


Thursday, March 19, 2015

Big Boom!


Here I loaded TNT onto the side of my rocket. I put a ton on so that it would blow up in one try. It was kind of sad to blow it up after spending time working on it. Finally I clicked the lever and it exploded completely. The last couple pictures are what the world looked like after I blew up the rocket.  


Class 9, My Bigger Rocket

This is a picture of my bigger rocket. I made it pretty tall. There is a door to get inside. I got a bed at one point when it turned dark and then slept in it. I discovered that when it turns dark the best thing is to get in the bed because it turns to daytime much quicker. 


Class 9, Blowing up my rocket in minecraft

These are the screenshots from blowing up my rocket. First I added two TNT and then I clicked the lever. The whole thing blew up in one try and so it was pretty easy. The hardest part was running away, and taking a screenshot at the same time. There was a pig near my rocket and when the rocket exploded the pig literally turned into bacon which was pretty cool.